
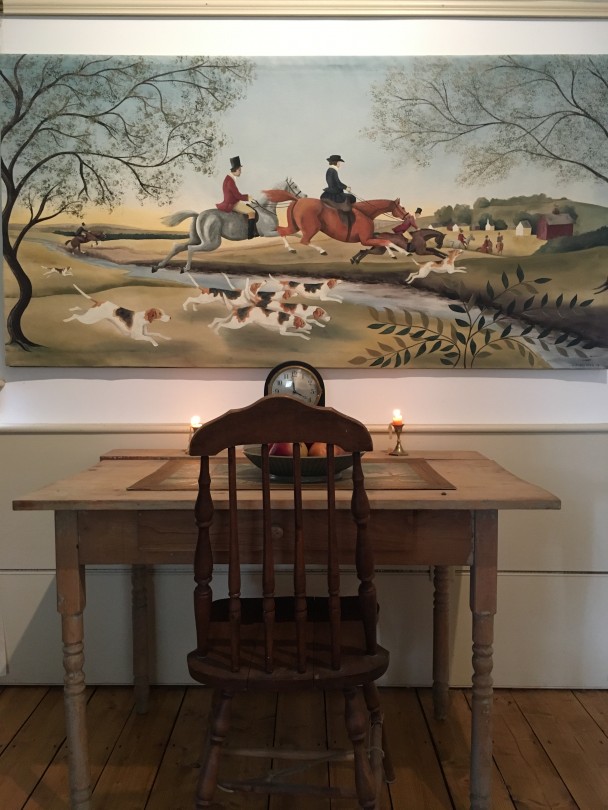
This week I finished the second of six 3 foot by 6 foot fox hunt scene wall hangings that I have planned to complete this spring. While I painted this piece I tried to remind myself to take photos to demonstrate my process. Sometimes I get rolling along and it’s hard to stop to take a shot!
I start with a piece of canvas which I shrink and prime lightly. Then I cut it and hem it to size, creating rod pockets on the top and bottom which allow the finished piece to be hung and displayed easily. For this project I made all six canvas pieces at the same time. This helps to keep them all the same. Next I wash the blue of the sky from the top down to about half way. This is a very wet technique. I soak the canvas then drop the color in and pull it down so it starts deeper at the top and fades as it approaches what will become the horizon line.
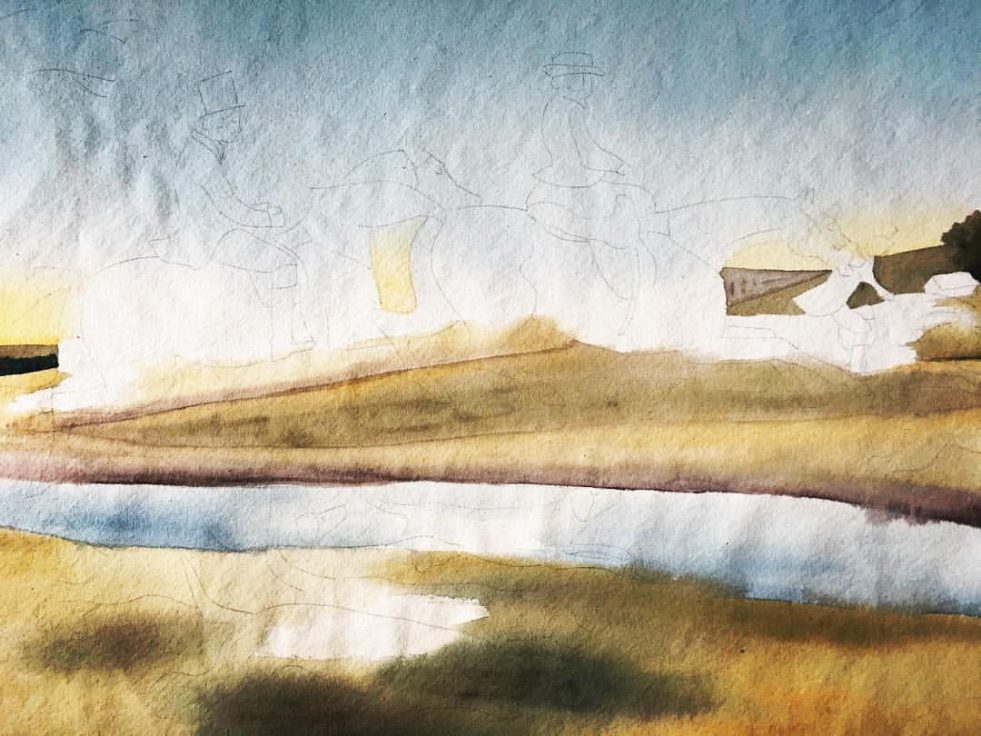
Washes of color create the background.
After it has dried completely I draw the design onto the canvas. I spent the months of January and February developing the sketches for these pieces. I like to have a clear vision of what each painting is planned to be.
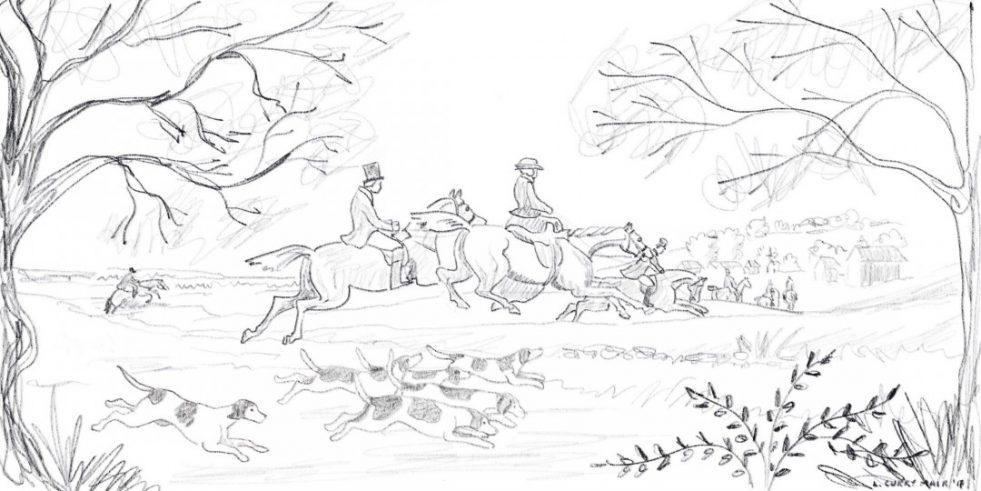
Pencil sketch
I play with the composition and placement on paper, until I start to “see” the finished piece.
I start the painting by working from the background to the foreground. The background needs to be kept simple and the colors need to be soft and a bit faded to appear further away. Then I work forward in the painting. The dark horse disappearing over the hill is in the middle ground, so he is painted with a little more detail and slightly stronger colors.
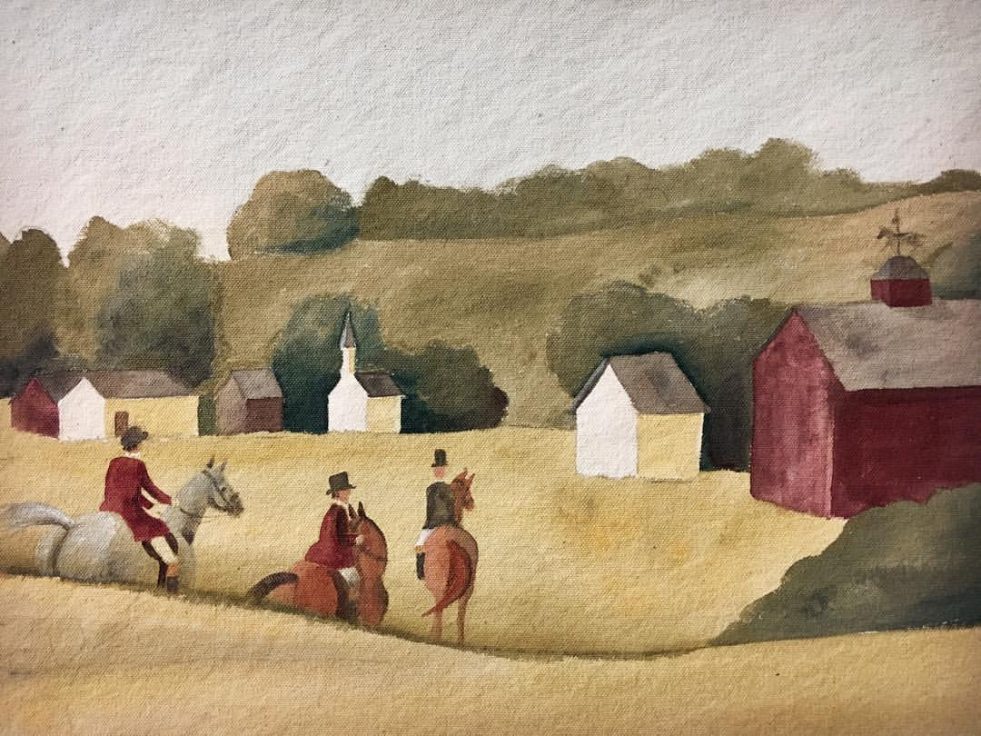
Small distant riders and the village.
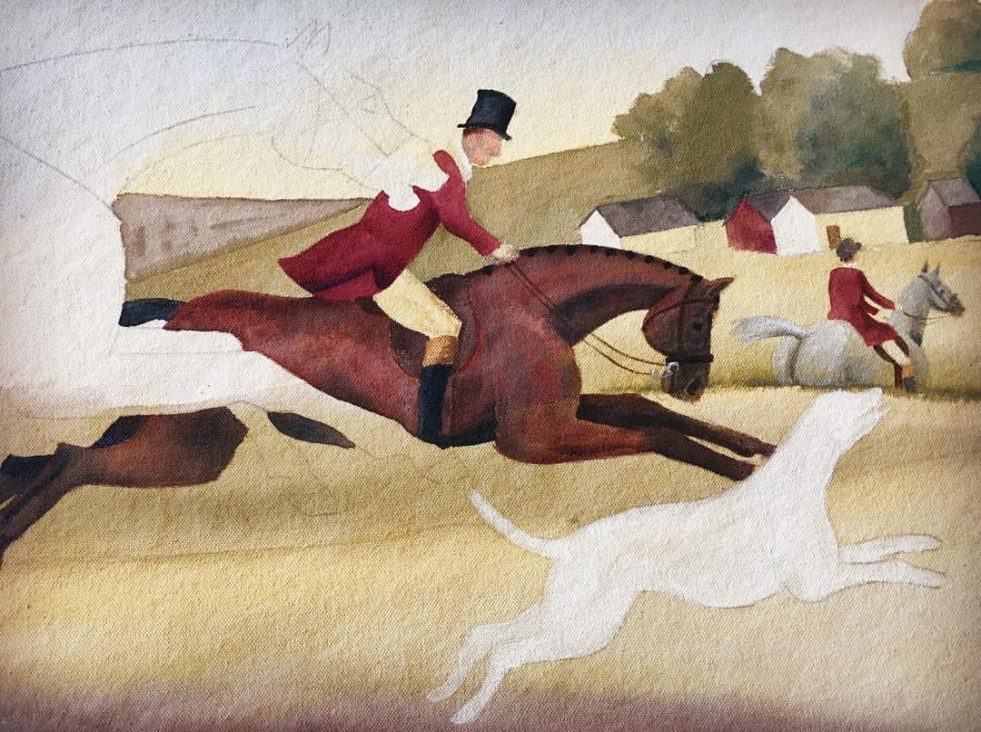
Moving towards the foreground in the painting.
Now I get to have some fun! The foreground needs detail added to the water in the brook, as well as more refinement on the bank up from the brook and then, of course, the horses and hounds! Kate (my horse) comes first (well, of course)! She always just paints herself. I find if I study the sketched canvas, I start to see the painting. Then it’s my job to fill in the color and line where I see that imaginary image.
Adding detail, deeper colors in the foreground, and, of course, my horse, Kate, at center stage!
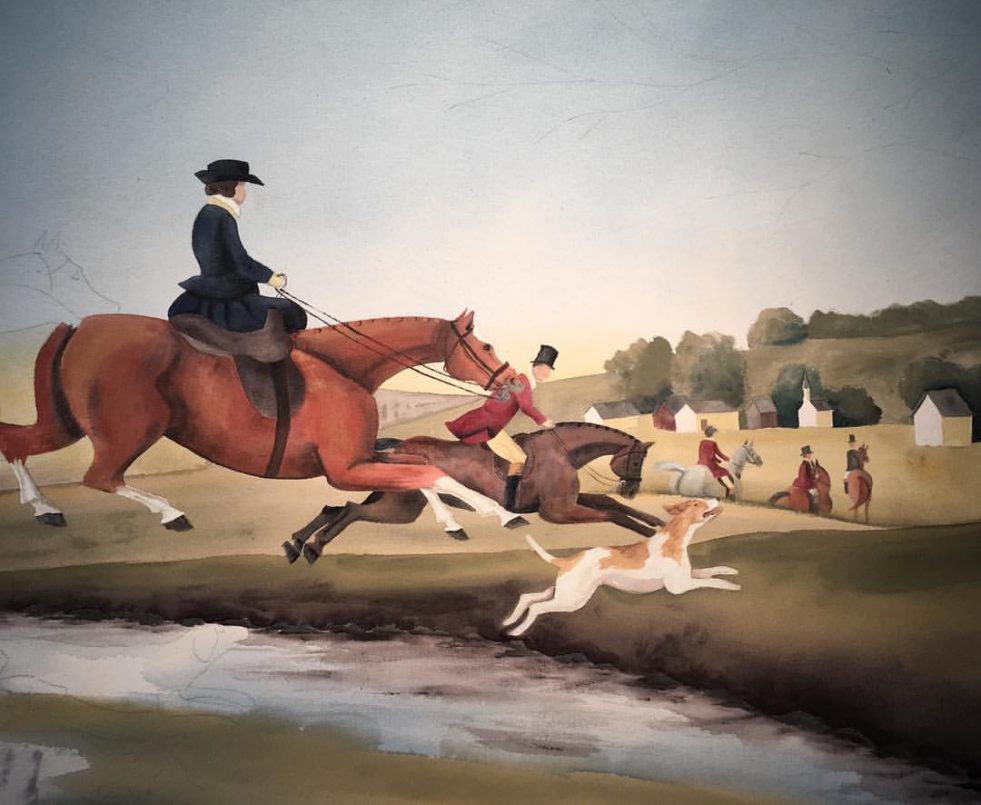
Similarly, I paint the rest of the horses and add the hounds. These are closest to us, so the boldest colors are used. There’s the one guy climbing up out of the brook who was actually back to that middle ground, so I had to adjust back to slightly softer, simpler strokes for that one.

Details on all of the animals are completed.
The final step is the foliage. Trees and my signature “leaf shrub” are added. This is a trick I took directly from muralist Rufus Porter. These elements frame the piece and create a lot of depth to the scene. Then I hang it up and step back to see if everything is looking OK. I can darken areas or add a detail here or there, but the layered technique I use doesn’t allow me to make any huge changes. That’s why I like to plan it out well beforehand!
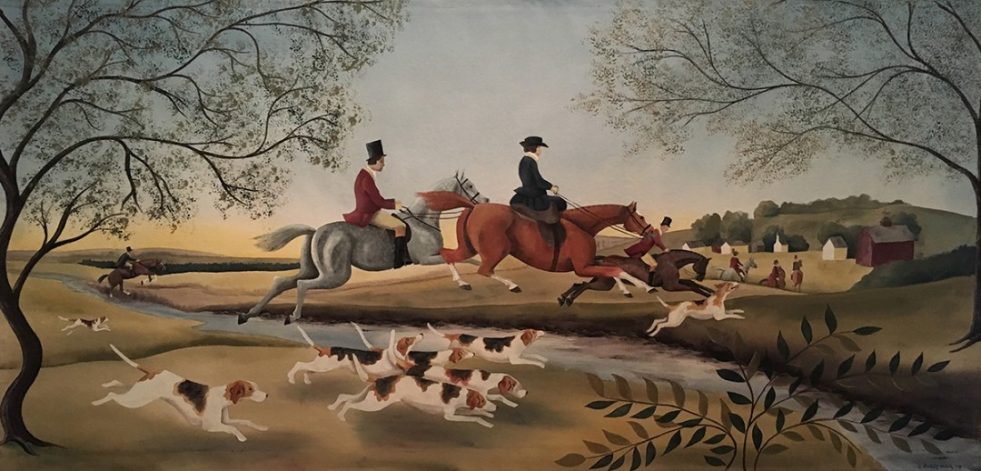
Foliage is added to create a sense of depth in the painting.
This piece is currently available for sale. Go to https://canvasworksdesigns.com/equestrian-art-paintings/ for more info.
Absolutely breathtaking! The mood you created (I’m thinking early morning) makes me want to go get a cup of Darjeeling and sit on my front porch to watch the sunrise.