
Yesterday, certified wallpaper hanger, Charlie Gilley, and I went to Wayland, Mass and hung a mural on four walls of a 1750s home in Wayland, Massachusetts. This was the final step in a process which started back in October of 2015. Friend of the homeowners and decorator, Ellen Fleischer, asked me to come look at the home, take measurements and propose a mural for
Wall 3 before.
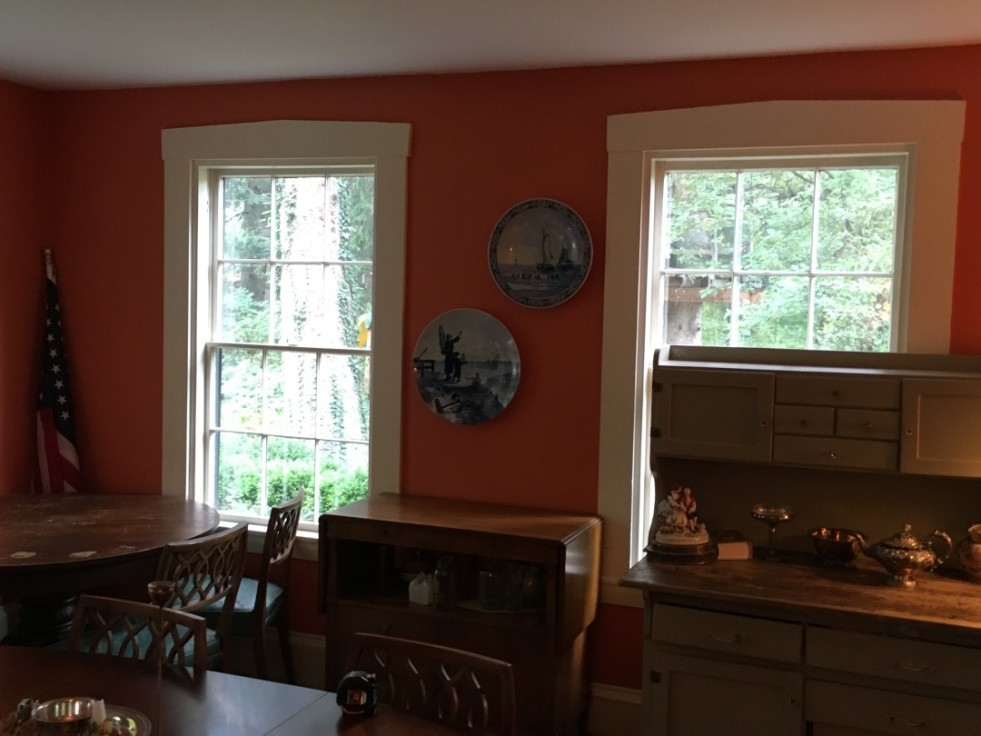
the dining room of this wonderful, historical place. The house is beautiful, sitting amongst lots of trees, on a hill, with historic Sherman’s Bridge just around the corner. The dining room looked small. The orange-painted walls were closing in on the space and a lot of furniture was leaving little room to move. Ellen said Susan and Stephen, the owners, were thinking that they would like a mural on one wall. I immediately suggested they go for all four walls. The house has so much history and elegance, the four walls would wrap around the room and create an open, airy step into the past. One wall would run the risk of looking like a huge painting and leave the other 3 walls looking bare and disconnected. I took measurements and photos and walked around outside. I also checked out Sherman’s Bridge and took a few photos there.
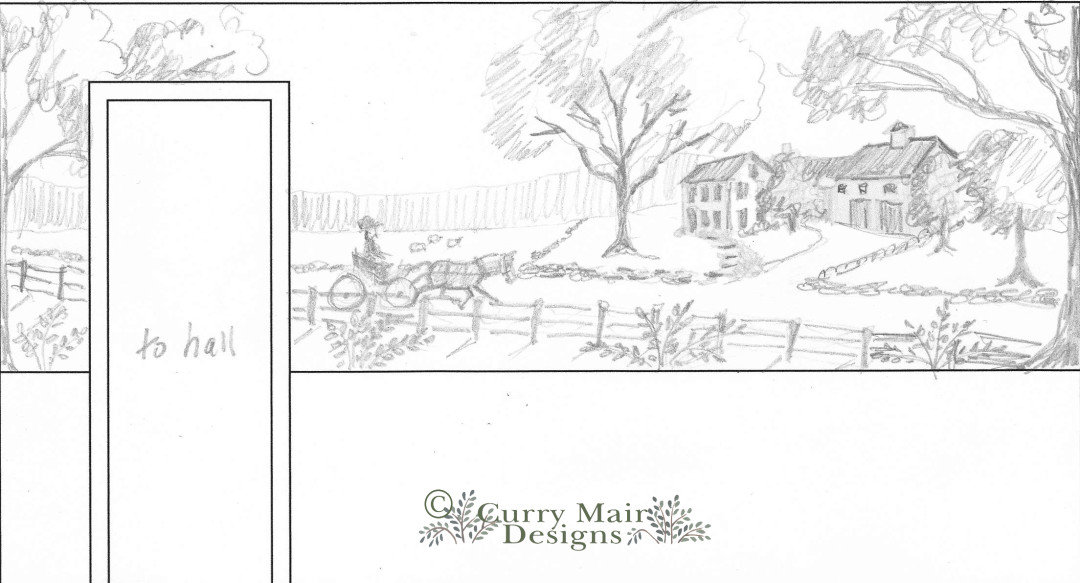
Pencil sketch of wall 1.
When I got back to the studio, I did some loose pencil sketches of my ideas of the images to go on the 4 walls and sent them off to Ellen. She conferred with the homeowners. They liked the concept of the one main wall, depicting the house itself, but were concerned about how the 4 walls would look. The next step for me was to create painted color sketches of the four walls. I did that and then created a slide show, showing how the room would feel as you looked around the four walls.
Garfield:Noyes Mural pres from Lisa Mair on Vimeo.
After seeing this presentation, Susan and Stephen were ready to go ahead with all four walls of the project. So I got to work and started prepping canvas, laying out and painting the entire scene in my studio.
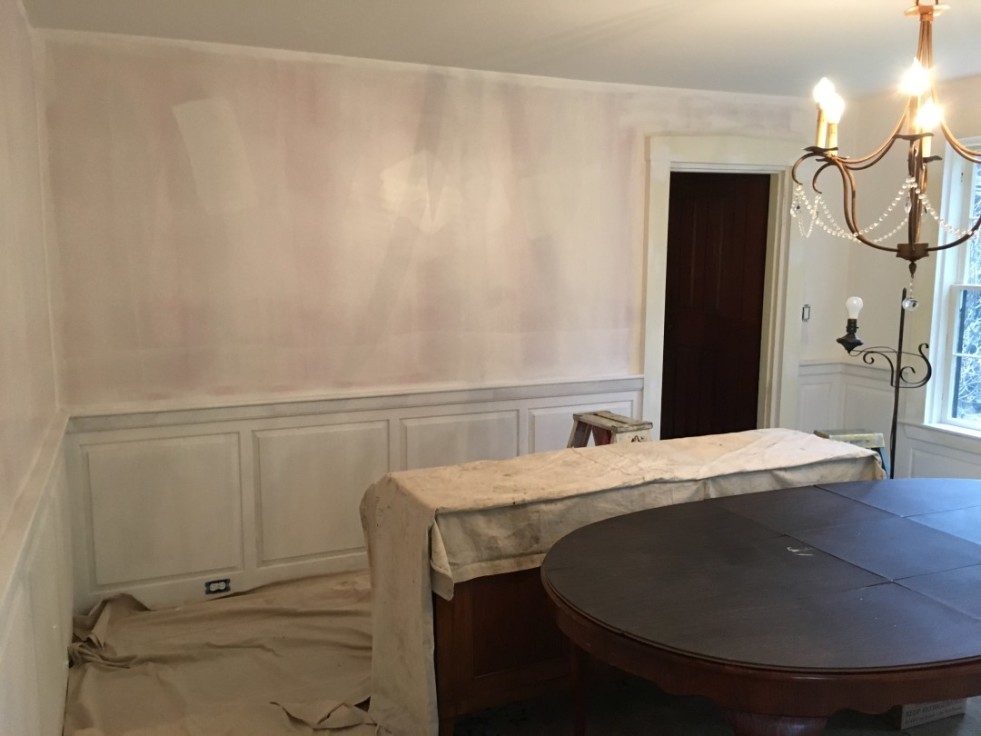
A prepped wall ready to receive a mural.
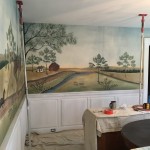
Yesterday was installation day. The room had morphed from its original cluttered, orange walls to a stately space with beautiful wainscoating. Everything was primed white and the walls were ready to accept wallpaper paste and the murals.
We applied a layer of heavy duty wall paper paste, turned on the fans to let it dry, and then applied a second coat of paste to the first wall. Charlie and I unrolled the first panel and positioned it on the wall so that the corner trees were situated correctly and the height of the image was right. Then Charlie went to work carefully cutting the entire piece with a knife to make it fit. While the paste is wet the piece can be lifted and moved until the position is exactly right, but once the first cuts are made, you’re stuck with that! Charlie does a great job and I trust him not to mess up my paintings. This is the 9th mural project he’s hung for me and he’s yet to miss a cut! We worked around the room, repeating this process one panel at a time.
-

- Positioning a Panel
-

- Positioning the Second panel.
-
- A tree joins the corner.
-
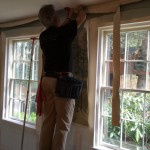
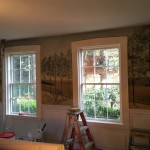
- Cutting around the windows.
-
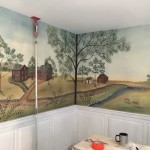
- Wall 3 complete.
-
- Wall 4 complete.
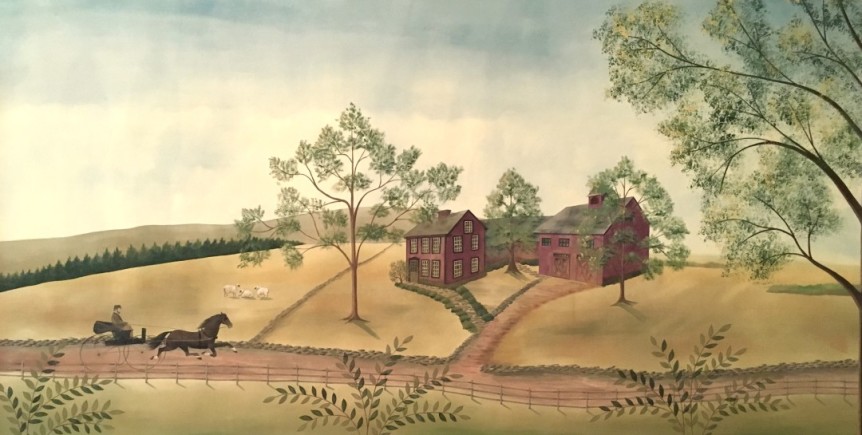
I am thrilled with the way this turned out. The woodwork will be painted and the furniture reupholstered, then I will have completed room photos. But in the meantime, here is a before and after:

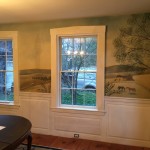
-
- Wall 2 complete.
This was so much fun to create and the people I worked for and with were awesome. I can’t wait to get started on the next mural project of foxhunting scenes in New Hampshire!